

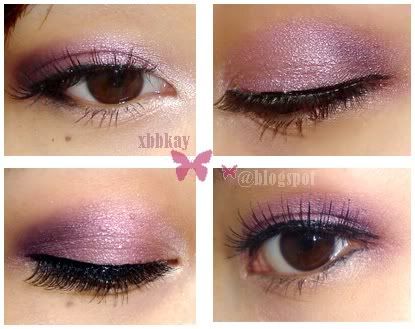


For the past few days, i've been thinking of doing this tutorial, but i've never gotten around to doing it, because i don't have the time. Whenever i get around to doing my makeup, it's already late evening, so i don't bother taking pictures because the lighting would just be terrible.
Today, while catching up with all my house chorse and what not, i decided to do this tutorial on how i try to achieve that flawless look. I know it's even more important especially in the summer!
Anywas, this tutorial is best suitable for:
-normal to combination skintype
-those with minor skin problem
-the summer season
-meant to be quick, simple, using minimal amount of products
First off, these are the face products i've used
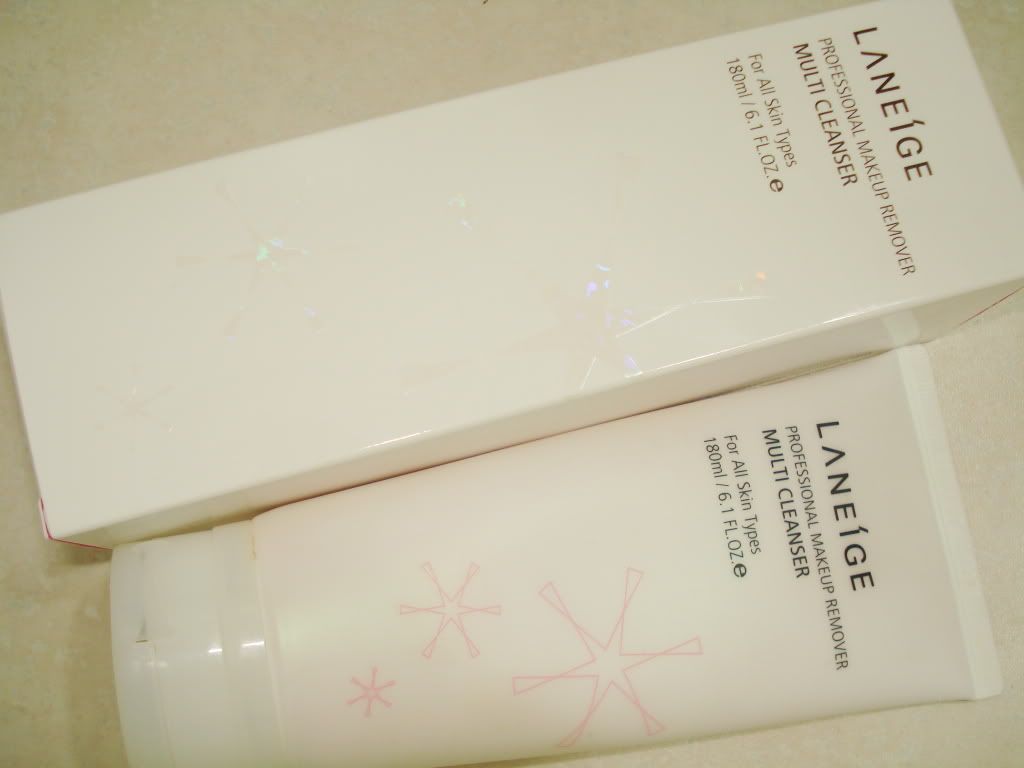
-Laneige Balancing Emsulsion 2_EX moisuturizer (light lotion texture)
-Elizabeth Arden Intervene SPF15 Foundation in Soft Cameo
-MakeupForever HD Primer
-A double sided foundation/concealer brush i got from Winners
-Tarte Bare Concealer in 04

Step 1
: You want to moisturize (after cleansing). Wait until the skin is completely dry. I suggest using a light lotion or a moisturizer that won't make your skin shine in the summer/hot season.Step 2
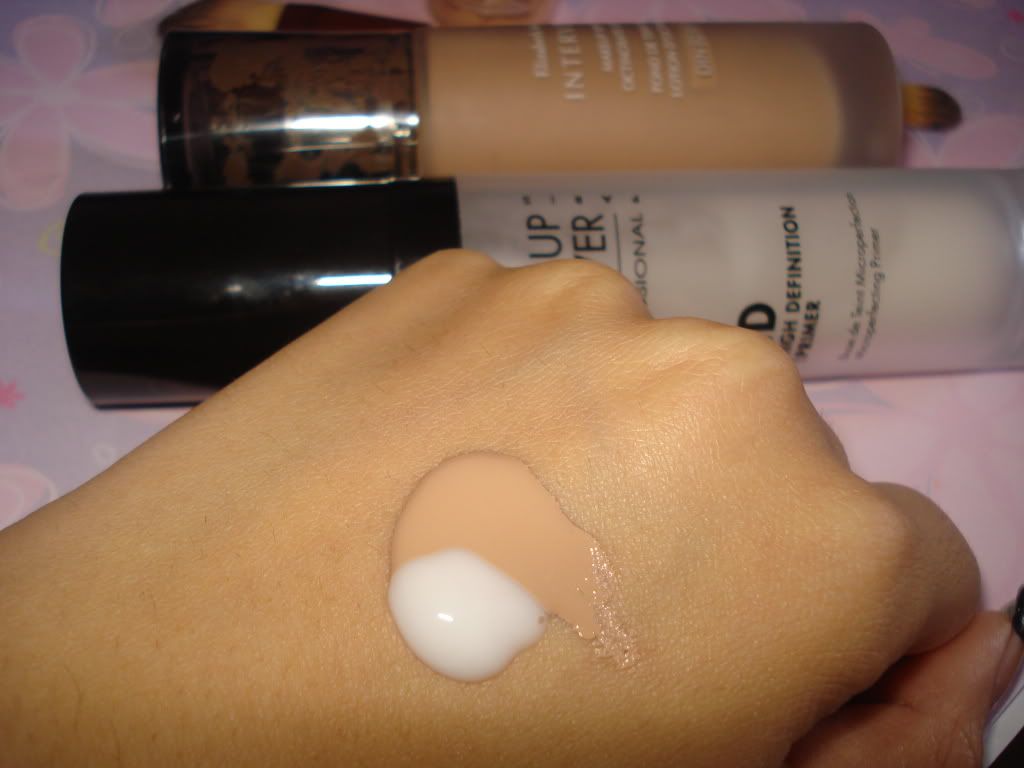
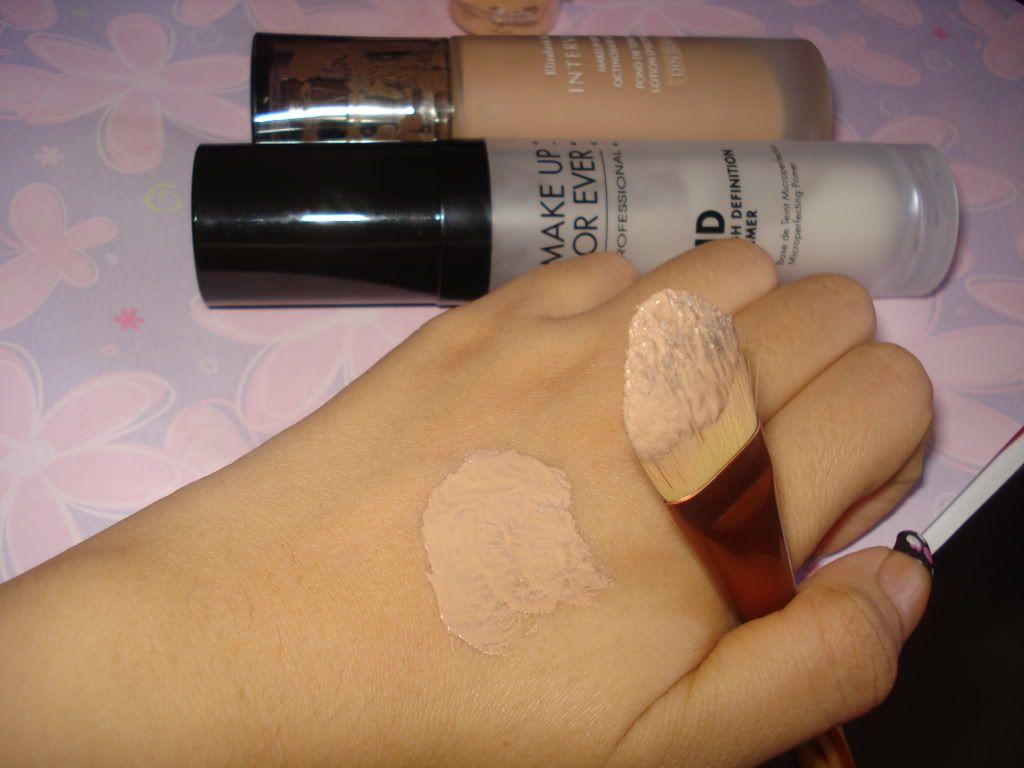
: Mix Foundation + PrimerThis is what i often do. You can chose to do it in two different step, but i love combining primer and foundation. It's great if you find your foundation to be a tad heavy/thick/drying, because a primer will thin out the consistency, giving you a more sheer application. Its great if you don't need a lot of coverage & it saves time. I like to mix half the amount of foundation for primer. You can figure out how much primer you'd like to mix in, just remember, the more you add, the more sheer your foundation will turn out.
You can mix it with your foundation brush directly on your hand like such:
Step 3
: Apply the foundation onto your facein the photo i've already done the step, & forgot to take a picture of it
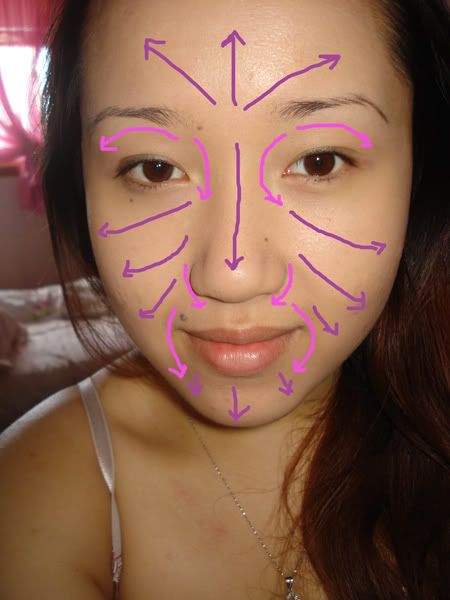 I like to stroke the foundation in the directions specified on the left (using the bigger brush side) The strokes in pink are the commonly missed areas. It's also areas that are slightly discoloured. If you have dark eye circles, you want to make sure to get into that corner, as that is where shadow is often casted. I like to go lightly around the eye area as well, because my skin is slightly lighter there, and you can sometimes see my vains for some reason. Also the area where i pluck my eyebrows are also much lighter then my face. You just want to even out your skin tone.
Note You can always use the Stipping brush (Mac 189) for a flawless application & skip step #5, however i find the stipping brush time consuming to wash all the time, so i don't use it as often. Either way, the application looks great both way. I like to use this brush, because it's fast.
Step 4
Concealing Imperfection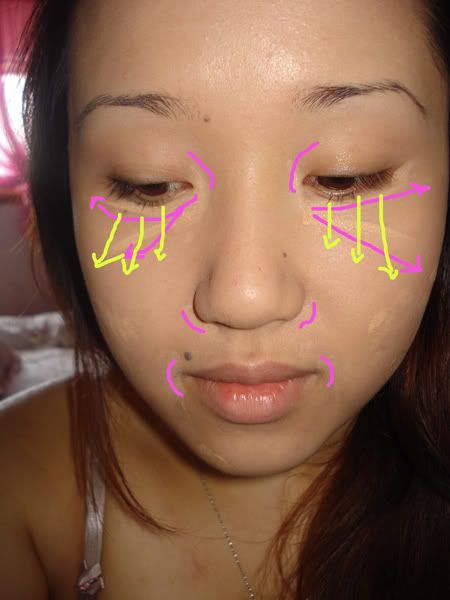 Next, i like to conceal any imperfection that the foundation could not completely cover with the other side of the foundation brush(small brush side). If your foundation gives you the coverage you desire then you can skip this step. For me, i like to conceal my under eye circles, areas where my skin is slightly more red/darker & any blemishes that are still visible
The lines in pink are where i stroke my foundation and the strokes in yellow is the direction i blend in. I like to blend it in a LIGHT stroking motion and then patt it down.
Optional If your concealer is too light or too dark compared to your foundation, you can chose to PAT on a bit more foundation on those areas, to even out your skin tone.
Step 5
Pat the Foundation down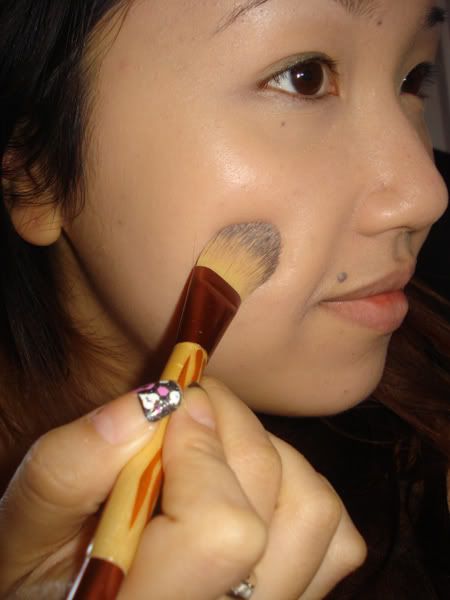 You may already be aware of this, but when you use this foundation brush to blend out the foundation, you may see some stroke lines. However, because i mixed primer with foundation earlier, my coverage is pretty sheer, so i don't see any streaks, but for people who do - What i like to do is using that same foundation brush ( the big side) and just pat it down. However this is my lazy way out. You are more then welcome to use a powder puff or one of these things. I have no clue what they are called.
If you have oily skin, then you can also set the foundation with powder. Personally, i don't like powders as it tends to make my face look cakey and overdone. I like the dewy finish that liquid foundation leaves so i tend to stop at this point.
Finish!
this is a photo after i fill in my brows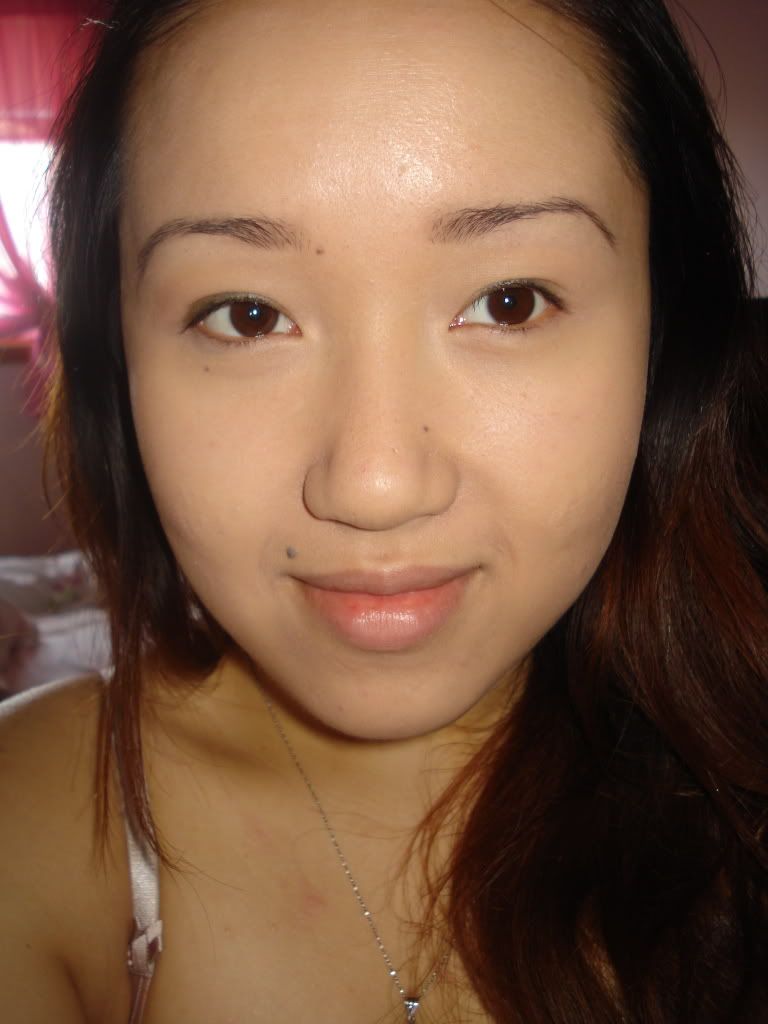
Now you can finish off with your regular makeup routine. If you are going to put on eyeshadow, i suggest doing that first, then going through with foundation, because the fallout will just smudge your flawless canvas. However, for the summer, i like to keep it simple.
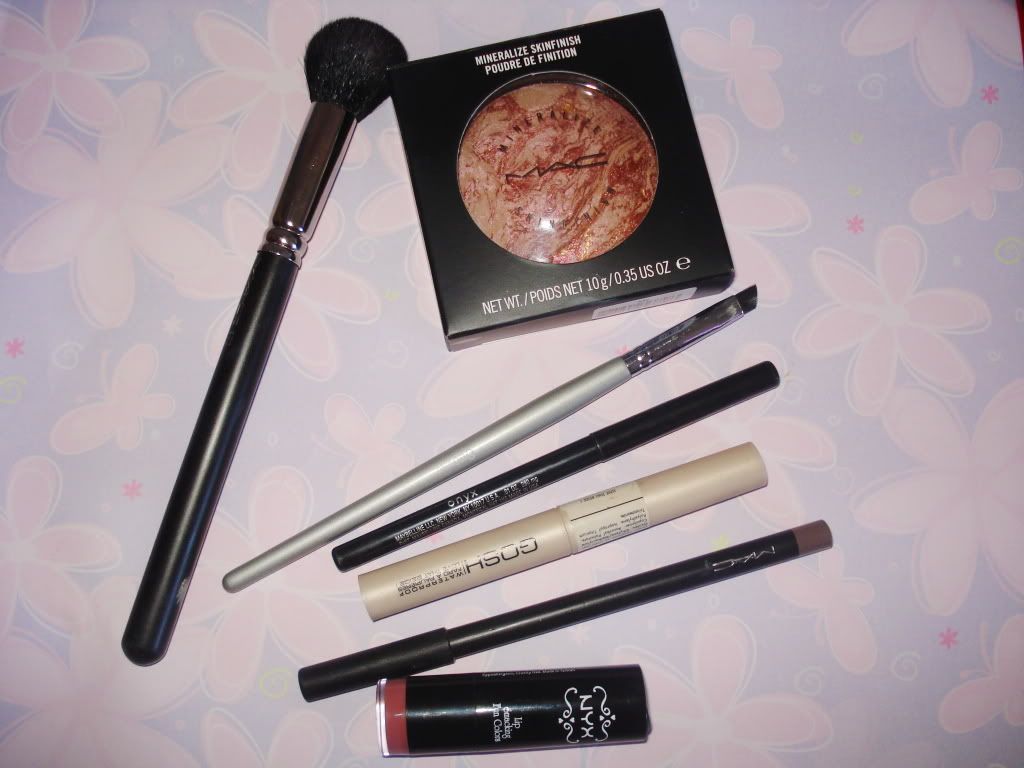
Here are the makeup products i've used. This is a great everyday look.
Mac 109 brush
Mac Petticoat Mineralize skinfinish
Quo Angled Brush (to smudge out eyeliner)
Maybelline Unstoppable Liner
Gosh Eyeshadow - Love that Beige
Mac Brow Pencil in Taupe
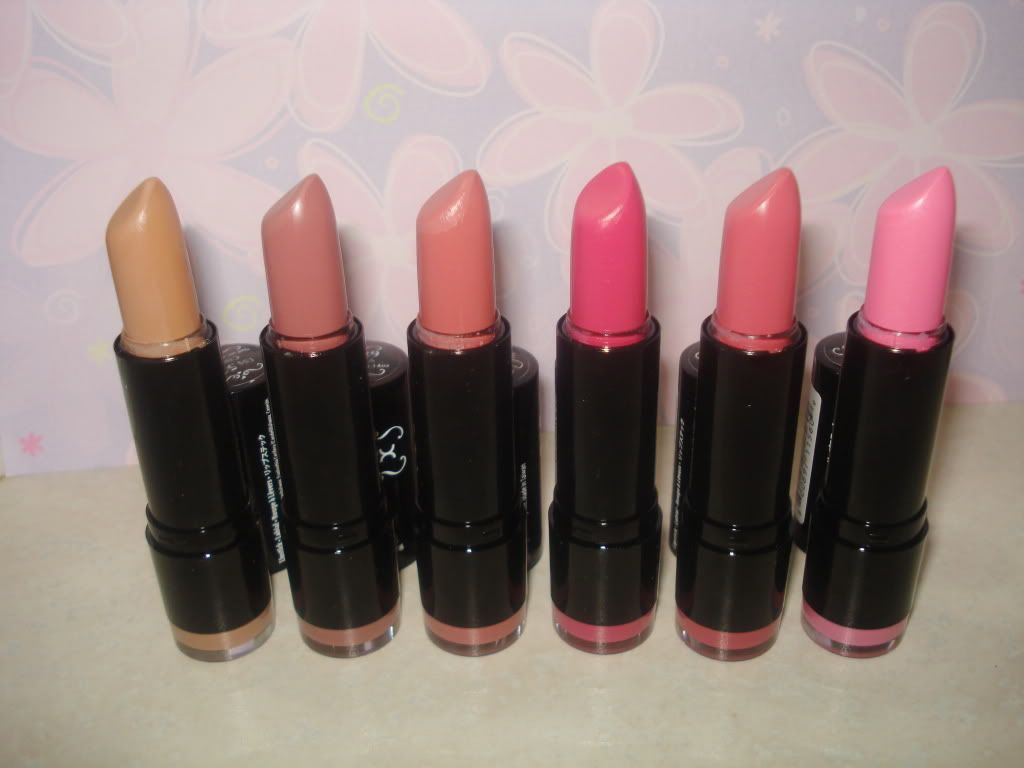
NYX Roundlipstick in Tea Rose
Note Not pictured - Maybelline Define a Lash, & Drugstore eyelash curler
& this is the finish Look
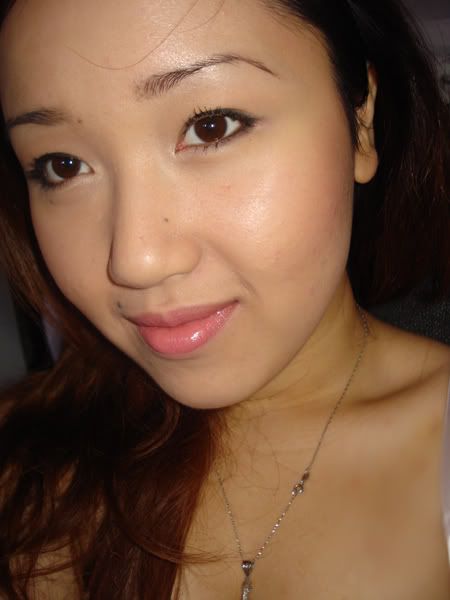


Usually, i use a blush, but i recently purchased the Petticoat Mineralizer, so i used it in this tutorial. It will be repromoted in the next Mac collection - & i really recommend it. Swatches for it will follow another time ;)
Anywas, this is the way i often do my make up, & this is what works for me at the moment. There are tons of ways you can go about doing it, so alternate what works best for your skin. I hope my first tutorial was of some help. If you guys have any advice or suggestions, feel free to leave me a comment, i'd love to hear from ya'll. Take care & thanks for reading
P.S . DO YOU LOVE MAC's MINERALIZE SKIN FINISHES?
